Stone has a quality that paint cannot imitate: it shifts with the light. A rough slate wall at eight in the morning and the same wall at eight in the evening are two different walls. That is the argument for building one into a living room, and it is also the reason the job rewards a bit of forethought. Get the material, the proportions and the lighting right and the wall looks as though it was always there. Get them wrong and you have an expensive, very heavy texture fighting everything else in the room.
Decide what the wall is for
Before you look at samples, decide what the stone is doing. Feature walls tend to fall into one of three jobs:
- Focal point. One wall carries the room — behind a sofa, around a fireplace, or the wall you look at from the kitchen. The stone does the talking and everything else stays quiet.
- Backdrop. A gentler role: a full-height panel behind a television, or a shallow return beside a chimney breast, adding texture without dominating.
- Zoning. Stone marks where one part of an open-plan space ends and another begins, which suits a long room that needs an anchor.
That choice sets everything else: how much cladding you need, whether the stone runs floor to ceiling or stops at a shelf line, and how hard the lighting has to work.
Split-face or smooth: choosing the surface
Split-face cladding
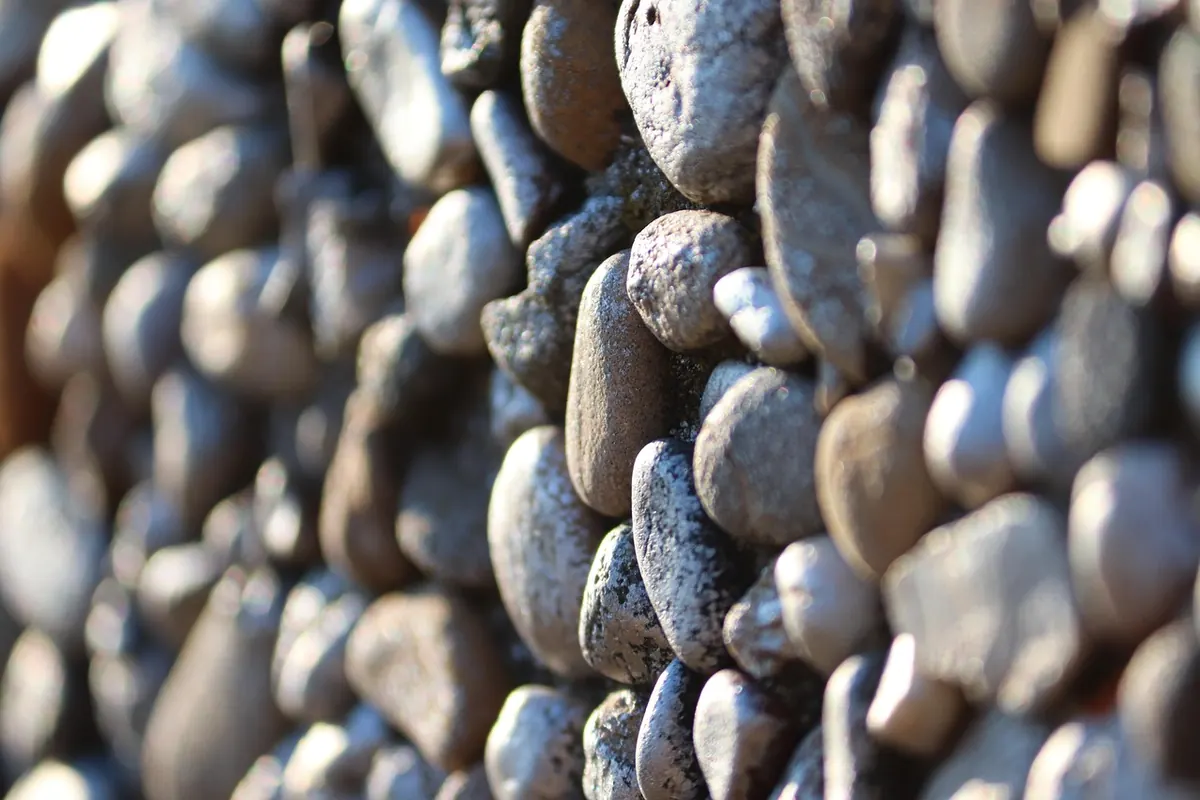
Split-face stone is riven along its natural grain, so each piece has a rough, layered face and a shallow depth. In a contemporary living room it works best as a single wall in one colour family — grey slate, charcoal quartzite, pale sandstone — or as a vertical band that draws the eye upward. Keep it to one surface; two split-face walls start to feel like a theme bar. Two practical points: the texture collects dust, and a television set against it is harder to read.
Smooth, honed and brushed stone
Smooth stone reads calmer and slightly more architectural. Larger format panels or tiles in limestone, travertine or slate suit modern interiors particularly well, especially with tight joints and a simple layout. Choose this if the wall sits behind a sofa you lean back against, or if you want the room to stay quiet. Honed slate and sandblasted limestone both take light beautifully without shouting.
Buy a physical sample rather than trusting a photograph, and check thickness and weight before ordering. Natural stone varies from batch to batch, so order everything you need in one go and keep a spare box for repairs. If you are cladding around a wood burner or any heat source, check the appliance's clearance requirements and the relevant building regulations before fixing anything to the wall, and have any electrical work carried out by a qualified electrician.
Get the proportions right before you order
Stone is unforgiving of awkward layouts, so plan on paper first. Decide whether the wall runs to the ceiling or stops short — a deliberate gap of around 100–150mm above the cladding can look considered, whereas a random strip looks like a mistake. Where the stone meets a side wall, wrap it around the return rather than butting it into the corner; a 90-degree reveal makes the finish look built rather than applied.
Then mark up sockets, switches, radiators, wall lights and the television position. Moving a socket after the stone is up is painful. Set out where cut pieces will fall: aim for full pieces at the most visible corner and push cuts into the least noticeable edge, and keep the joint width consistent throughout.
Light the stone, don't just light the room
Texture is revealed by raking light — light that travels across a surface rather than straight at it. This is where most feature walls succeed or fail.
- Grazing light. Wall lights, picture lights or a linear LED slot mounted 100–150mm off the face skim across the stone and exaggerate the relief of split-face cladding.
- Uplighting. Small floor-level uplights wash upward and make a wall feel taller. Useful beside a chimney breast or at either end of a long panel.
- Washing. A soft, even wash keeps smooth stone looking calm. Avoid downlights placed close to the wall, which create harsh scallops.
Keep to a warm colour temperature — around 2700K is a dependable default in a living room — and put everything on a dimmer, because stone looks best at low levels once the sun has gone. If you want integrated lighting, plan conduit and cable routes at first fix, before any cladding goes on.
Installation: what actually matters
- Check the substrate. The wall must be flat, sound and able to carry the weight. Plasterboard, plaster, render and brick all behave differently; heavy stone often needs a cement board or a mechanically fixed carrier.
- Prepare the stone. Seal porous types on the back and face before fixing, and follow the supplier's guidance on primer and adhesive. Natural stone can draw staining through from behind.
- Dry-lay a section. Lay out a square metre on the floor to check colour mix and joint spacing before committing adhesive to the wall.
- Work upward in manageable areas. Keep joints consistent — 3–5mm with a matching pointing mortar reads cleanly — and wipe adhesive smears off the face immediately.
- Finish the edges. Corners, reveals and top edges need a proper detail: mitred returns, matching corner pieces or a slim trim. Untreated edges undo good work.
Full-height or very heavy installations are worth handing to a specialist. A poorly bonded stone wall is not something you want to discover halfway through a dinner party.
Details and upkeep
Pointing colour has more influence than most people expect: a mortar close to the stone makes the wall read as one mass, while a contrasting mortar separates every piece. Reseal porous stone periodically according to the manufacturer's instructions, dust split-face cladding with a soft brush rather than a wet cloth, and keep clutter off the wall so the texture stays the feature. If you want a hearth or bench, use the same stone so the room holds together.
A sensible order of work
Work in this sequence and most problems solve themselves: settle the wall's job and extent, choose the stone from a physical sample, draw the layout with sockets and lights marked, arrange first-fix electrics, prepare and level the substrate, dry-lay, then install from the bottom up and finish the edges.
Do the lighting design before the stone goes on, not after. It is the one element that cannot easily be retrofitted, and it is the difference between a stone wall that looks deliberate and one that simply looks heavy.
Photo: Marisa04 / Pixabay